


Reusable Asset Service (RAS) in Sparx Enterprise Architect
Reusable Asset Service (RAS) in Sparx Enterprise Architect
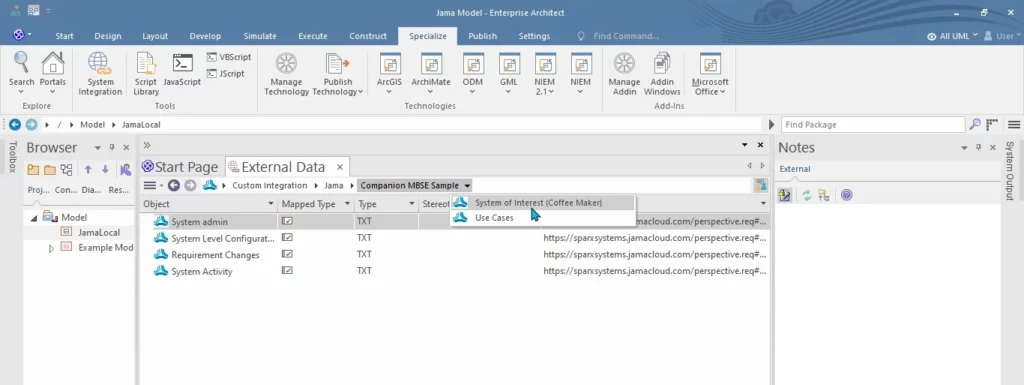
- Sparx Enterprise Architect supports the Reusable Asset Service feature, which offers a straightforward and practical method for modelers to share or download reusable model structures, information, as well as corporate directives and standards.
- Distributed teams can access the shared repository as it will be connected to Pro Cloud Server.
- The RAS gives distributed teams convenient access to a single ‘source of truth’ for shared data, including project milestones, architectural frameworks, and industry standards.
Reusable Assets
Pro Cloud Server repository encompasses a Reusable Asset Storage.
Reusable Assets can consist of:
- Packages containing elements, diagrams and structures (as drawn from any point within the Browser window).
- A variety of text, coding, and graphic file types, such as.qea and.eap files.
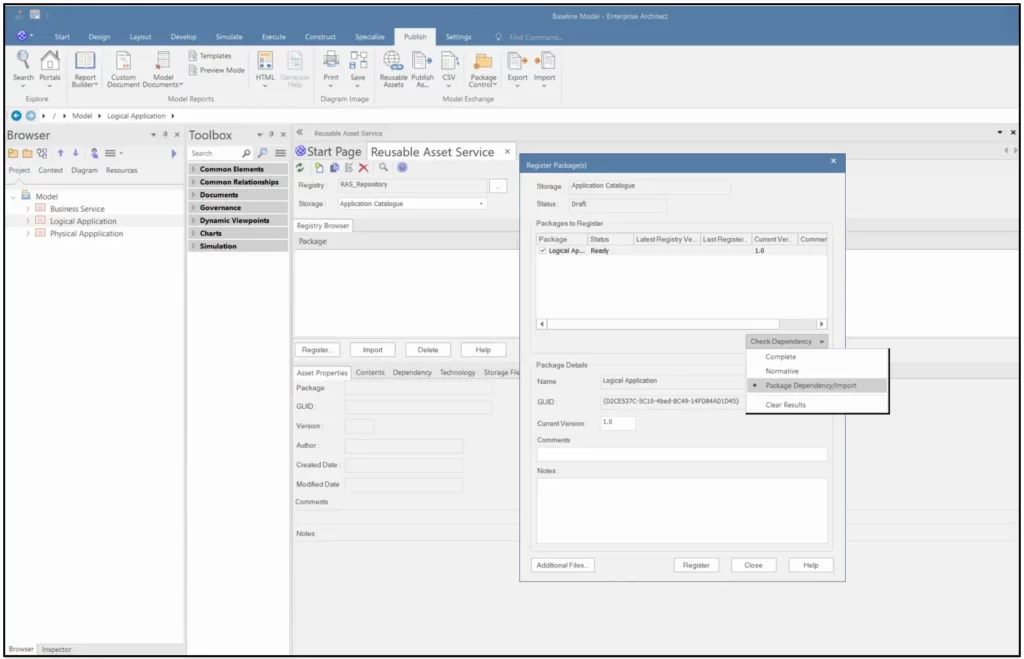
Figure :1 Reusable Asset Service
Key-Feature in RAS
| Features | Description |
| Register Assets | The assets that can be created include: ● Packages – including diagrams and subordinate Packages ● Baseline Packages ● Files |
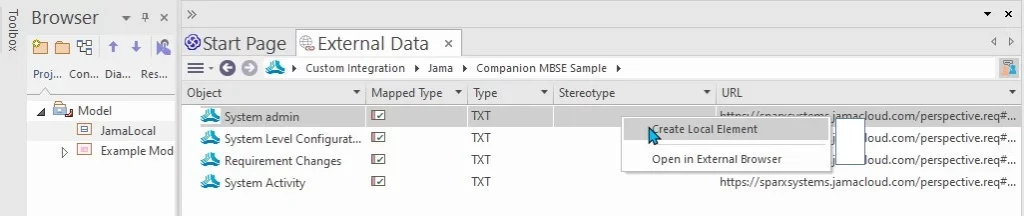
| Browse Assets | Any user, regardless of password protection, can freely browse and identify the contents of a Package held in a Storage – including displaying the diagrams – without importing the material into a model. |
| Import Content | Any user with access to the Pro Cloud Server repository and a password (if required), can import an Asset into their repository. |
| Dependencies | Any dependencies within a stored Package are viewable, providing a quick means to visually see what the Asset requires. |
| View Diagrams | Any diagrams set in an Asset are logged and can be viewed providing a quick means to check and visually compare the Asset diagrams against updates to diagrams in the current model. |
| Compare | Where a user that has imported an Asset Package into their model, they can compare their model Package against any version of the Asset Package, to check for and assess any differences between them. |
| Required Technologies | For a Package Asset that has specific Technologies these are displayed for clarification of what is required on importing the Asset. |
| Reviews | Reviews and comments can be posted against a Package. |
Five simple steps to compare/merge between versions using RAS in Sparx Enterprise Architect :
- Creating a RAS repository using PCS.
- Configuring the RAS in the Main Repository and registering the assets in the Main Repository.
- Import branches to other local repository by configuring the same RAS in that repository.
- Make some changes in the local repository and register it in RAS configuration.
- Compare/merge/restore the changes from RAS configuration to Baseline repository.
Further Information
Please contact us or write an email to info@sparxsystems.in to have a live demo about the new EA 16 features and capabilities.

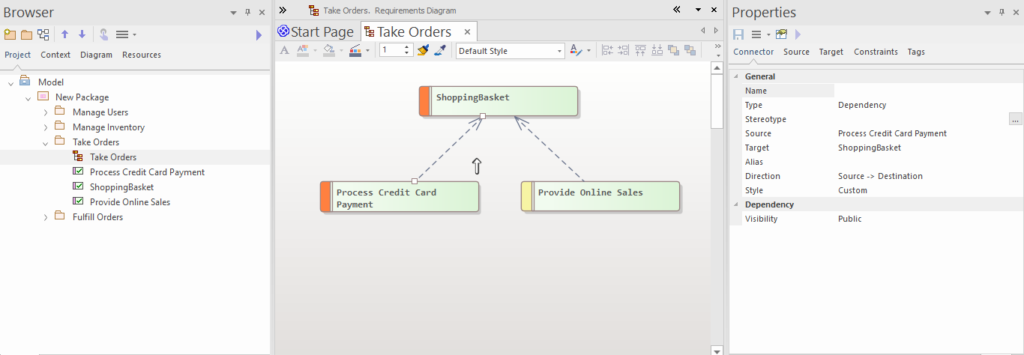
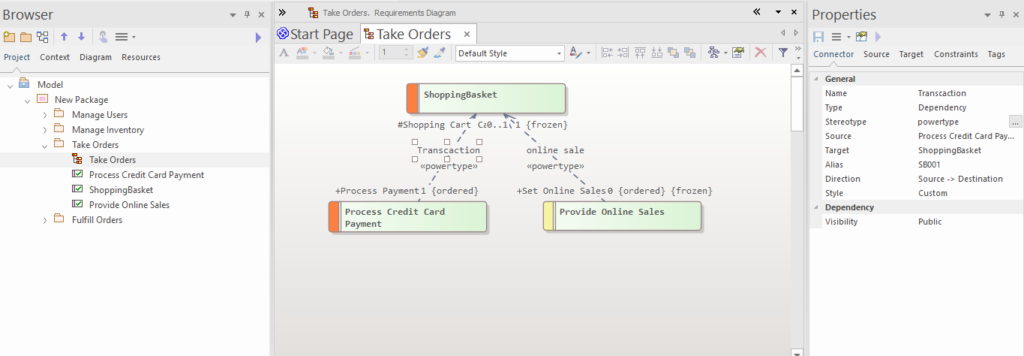
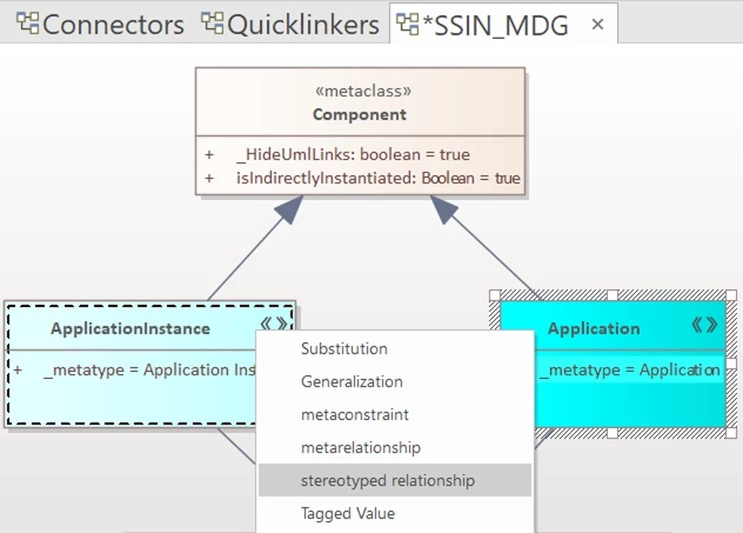
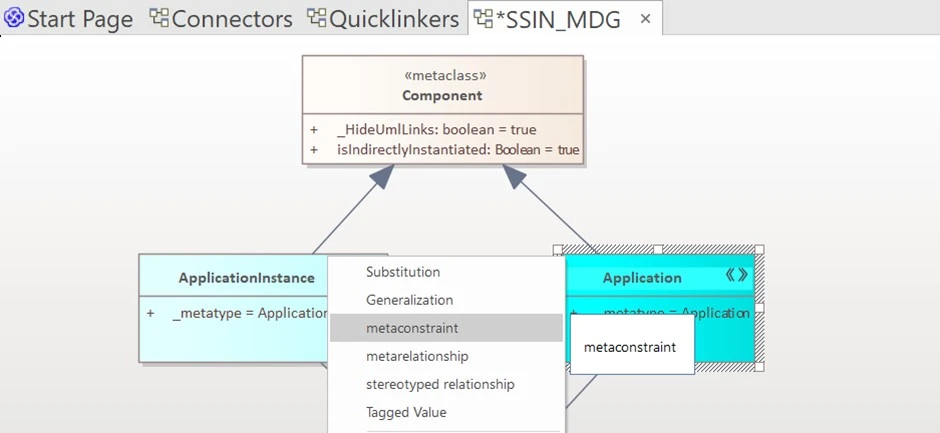
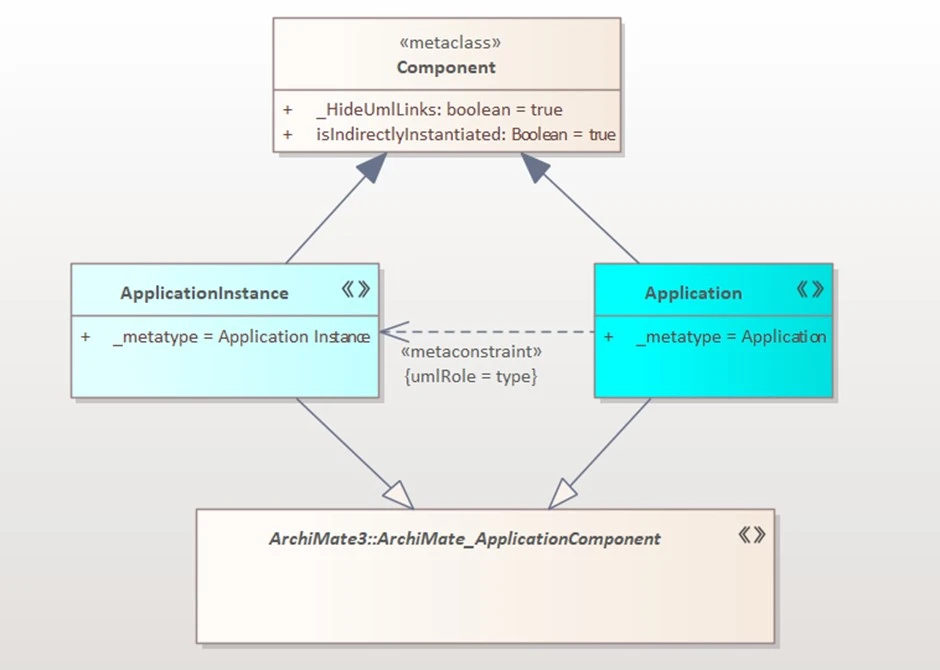
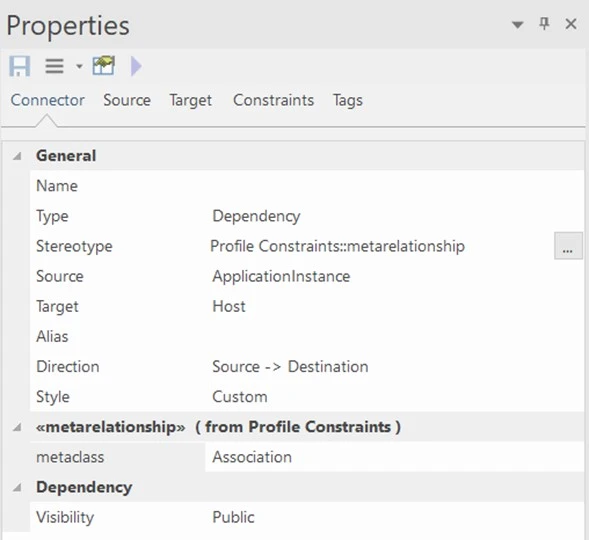
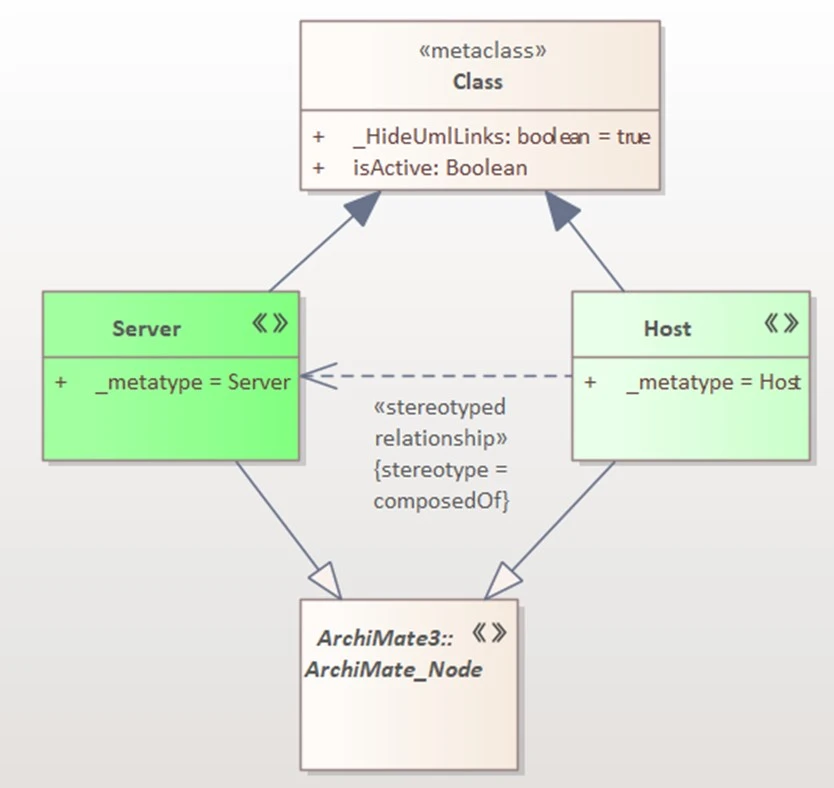

 Figure 4.4 Stereotype Relationship Created.